
The Basics Principals:
Achieving a professional sounding mix is essential to having your music taken seriously. It’s considered the best practice to get your mix sounding highly polished long before you take it to the mastering suite. If you’re planning on leaving the eq and compression of your mix to the mastering engineer your going to have problems. Get everything sounding right at source and you’ll end up with a much better final product.
The first thing to cover is ‘EQ’, which is an acronym for equalization.
 The attitude of less is more, is definitely beneficial when it comes to equalization. Learning to cut frequencies is just as important as boosting frequencies. Professional sound engineers have spent years developing their craft, and it takes a lot practice to become good at using EQ. This article should give you a head start and help you to avoid some common mistakes.
The most important aspect of EQ is to understand the effect of ‘cumulative EQ‘ (a build up of certain frequencies) and how to minimize them!
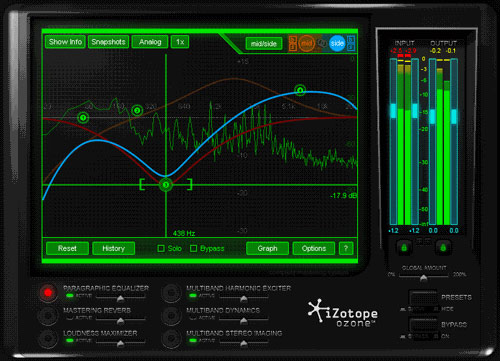
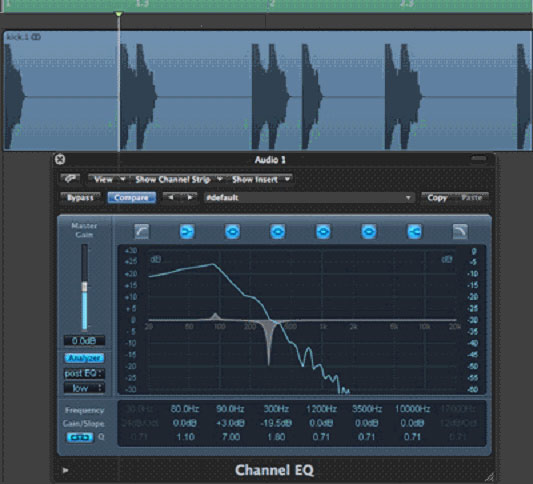
We highly recommend purchasing / using a good EQ plugin that has an ‘analyzer’ function. This helps you visually understand what’s happening in the frequency range within your mix. There is theory that when increasing or decreasing the frequency volume on one track, you should do the exact opposite (increase / decrease) on a sister track.
What is a ‘sister track’?
This is a track that mainly occupies the same frequency band as another. For example, if you increase the frequency volume of 80 Hz by 2dB, with a Q factor of 5, then you must decrease 80 Hz by 2dB, with a Q factor of 5 on your bass track, or other kick track. This is to avoid the ‘cumulative EQ’ effects. Keep in mind that you don’t always have to apply this rule to every track. It just helps keep everything clean and balanced.
Mixing Order:
When mixing your productions, we advise that you get the low end and drums sounding right before moving on to your other instrument tracks such as piano, strings, synths and percussion. Getting the low end spectrum of your mix right creates a strong foundation for the rest of your mix.
Be sure to also use ‘panning’ and ‘effects’ to keep your mix spread out and avoid frequency collisions across your mix spectrum. Creating space in your mix is key to creating a polished mix.
Compression:
Compression can turn an average mix in to something special, but can also destroy a solid, professionally EQ’d mix.
Compression allows you to control the dynamic differences (transients) between the quietest level and the loudest level within an audio signal. For example, trying to control the dynamic range of acoustic instruments such as acoustic guitars, horn players and even vocalists can be very challenging. Compression solves this problem… if you know how to use it properly.
Understanding ‘Ratio’, ‘Threshold’, ‘Attack‘ and ‘Release’ settings will give you that punchy, even sound that you hear in all professionally produced recordings.
When applying compression to your tracks, you do not want your tracks to pump. Pumping is where the compression is too heavy and the effect is clearly audible. This will ruin your mix and can’t be fixed later. Use any ratio settings between 4:1:1 and 8:1:1, anything higher is more effective as a limiting tool.
Try to achieve anything from 7dB to 14dB of gain reduction. This works well when applied to live drums, percussion, bass and guitar. Keep in mind, you may get a great sound from a track when playing solo, but understand that in the mix, the compression settings might not be suitable. Keep checking back and forth between the two to get the best out of the sound. You have to play this one by ear.
As for attack and release settings, there is an easy way to do this.
 Understand that each track needs its own individual attack and release settings. Start with attack settings, remembering to trust your ears, set it to the slowest time possible. Slowly increase the attack speed until the timbre of the instrument seems to weaken. You then decrease the attack time once more to bring the instrument back up to it’s audible original timbre. Find the sweet spot.
For release settings this is fairly similar. Lets use a Bass Drum for this example. You will need to set the release time to the fastest setting possible and decrease the release time until the compressor recovers the entire kicks volume before the next hit. If you don’t do this you will have many inconsistencies in sound / audio signal, and could also have the dreaded ‘pumping’ effect we mentioned earlier.
Advanced EQ Settings:
Without a doubt, drums are usually the main part of any mix. Practice these EQ tips if you really want that ‘polished’ sound to your mixes. Be careful and selective with the frequencies you boost and cut on drum tracks. Remember the ‘sister’ rule, lets show a simple example.
For kicks, cutting frequencies in the 160Hz – 600Hz range will give the kicks a cleaner, smoother sound. If you want a punchy snap to your snares boost around 250Hz – 500Hz. Never boost anything over around 4dB as boosting certain frequencies stretches audio waveforms and can decrease the quality. That’s why we recommend cutting frequencies as much as possible, rather than boosting. You’d be surprised how cutting certain frequencies can bring up the overall volume. We wont get in to why, as that’s science rather than music.
Using these tips and techniques with good frequency selection, panning and stereo spreading you can drastically improve your mixes. So go ahead and produce a track using these basic tips and let us know how it works out for you.
Got any EQ and Compression tips? Please leave a comment.
thanx alot …this is damn helpful.
less is more